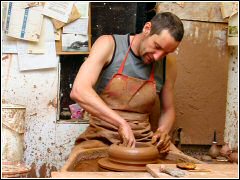
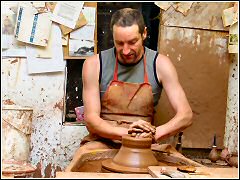
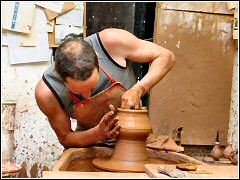
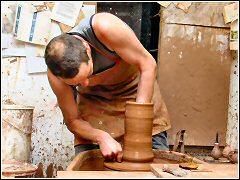
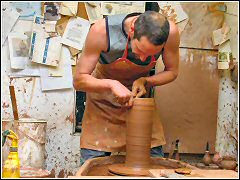
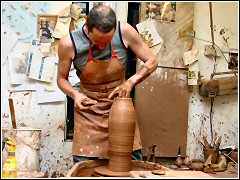
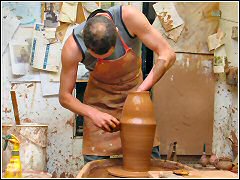
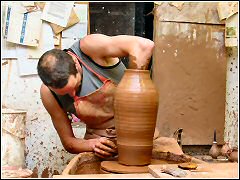
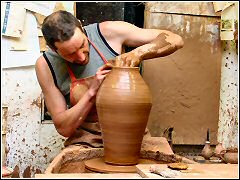
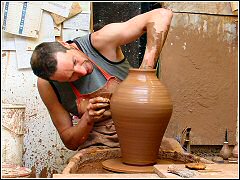
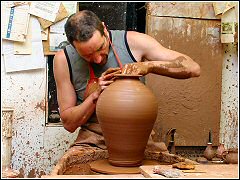
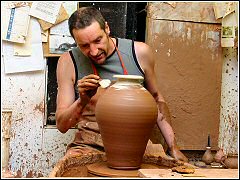
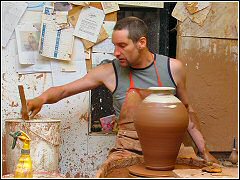
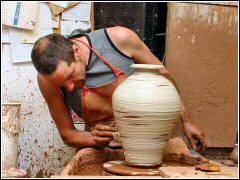
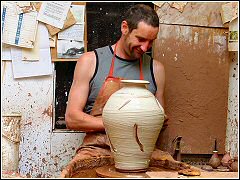
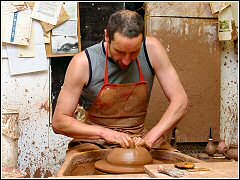
Copyright © www.cornishceramics.com 2000-2021. All Rights Reserved.

 
The Digital Museum of
Cornish Ceramics
www.cornishceramics.com

Home
Potteries & Marks
 Potteries/galleries to visit
About the Museum
Contact the Museum
Links

Pottery Master Class
 Pottery Courses in Cornwall

Master Class with Russell Gibbs from Goonhilly Pottery

In this master class, master potter Russell Gibbs will demonstrate how to throw a large pot, apply a slip coating and finish with a hakeme decoration. The clay used is a red earthenware.

For more information: Russell Gibbs - Goonhilly Pottery


Step 1


At this point, Russell has already prepared by placing a bat (circular wooden board) over a 1 cm thick pad of clay on top of the wheel. The clay has been pounded onto the base board and hand-moulded into a circular shape using moderate amounts of water.


Step 2


As the wheel turns, Russell coaxes the clay gently to form the inside diameter he wants for the base of the pot.


Step 3


Russell has pulled the clay up and now presses down again. This helps to make the clay more maleable and easier to work.


Step 4


Now the pot is being raised some more. It's essential that the pressure from the hand inside is exactly at the same point as the pressure on the outside. Don't press too hard. Take it slowly.


Step 5

Russell is now bringing up some more clay and adds more height.


Step 6


The pot has now been raised to form a chimney shape.


Step 7


Russell turns the top just a bit.


Step 8


Now more clay is being raised from the bottom to thicken and strengthen the sides.


Step 9


A bit more height has been added.


Step 10


As the pot gets wider so the thickness of the clay become less. It's essential not to use too much water at this stage. If the clay gets too wet then it will not be able to sustain its shape and will collapse.


Step 11


More shaping to widen the pot.


Step 12


Now you can see the way the shape is going. The thickness of the clay at the widest point must be maintained.


Step 13


Some more shaping and smoothing off.


Step 14


Now it's looking really good.

Here's the next tricky bit - turning over the top.


Step 15


The shaping of the pot is now complete. Russell has started to apply a layer of slip, which is clay in a liquid form. This needs to be done carefully as the pot will not take too much pressure while it's still wet.


Step 16

Load the brush a bit more.


Step 17


The slip coat is almost finished.


Step 18


Finally, just a few deft strokes with a scraper to reveal the base clay, and the decoration is complete.

The potter can now relax. That's another masterpiece almost finished - just the glazing to be done and then into the kiln.

Russell uses a raw glaze method which means that his pots are fired only once.
 
 
For more information: Russell Gibbs - Goonhilly Pottery


Copyright © www.cornishceramics.com 2004. All Rights Reserved.